Users Guide
Getting Started
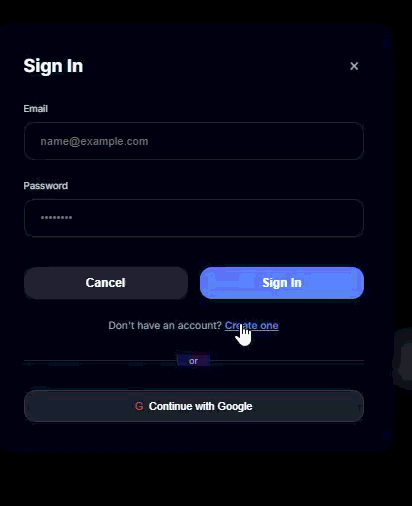
To get started with DefTune, create a free account. Account creation give you a free credit to begin with. The account will also save your workspace for each file you process, so you can return to it later without disruption. Click "Sign In" in the top right corner to get started with email or Google login. If you aren't using Google, click on the "Create one" link to create an account.
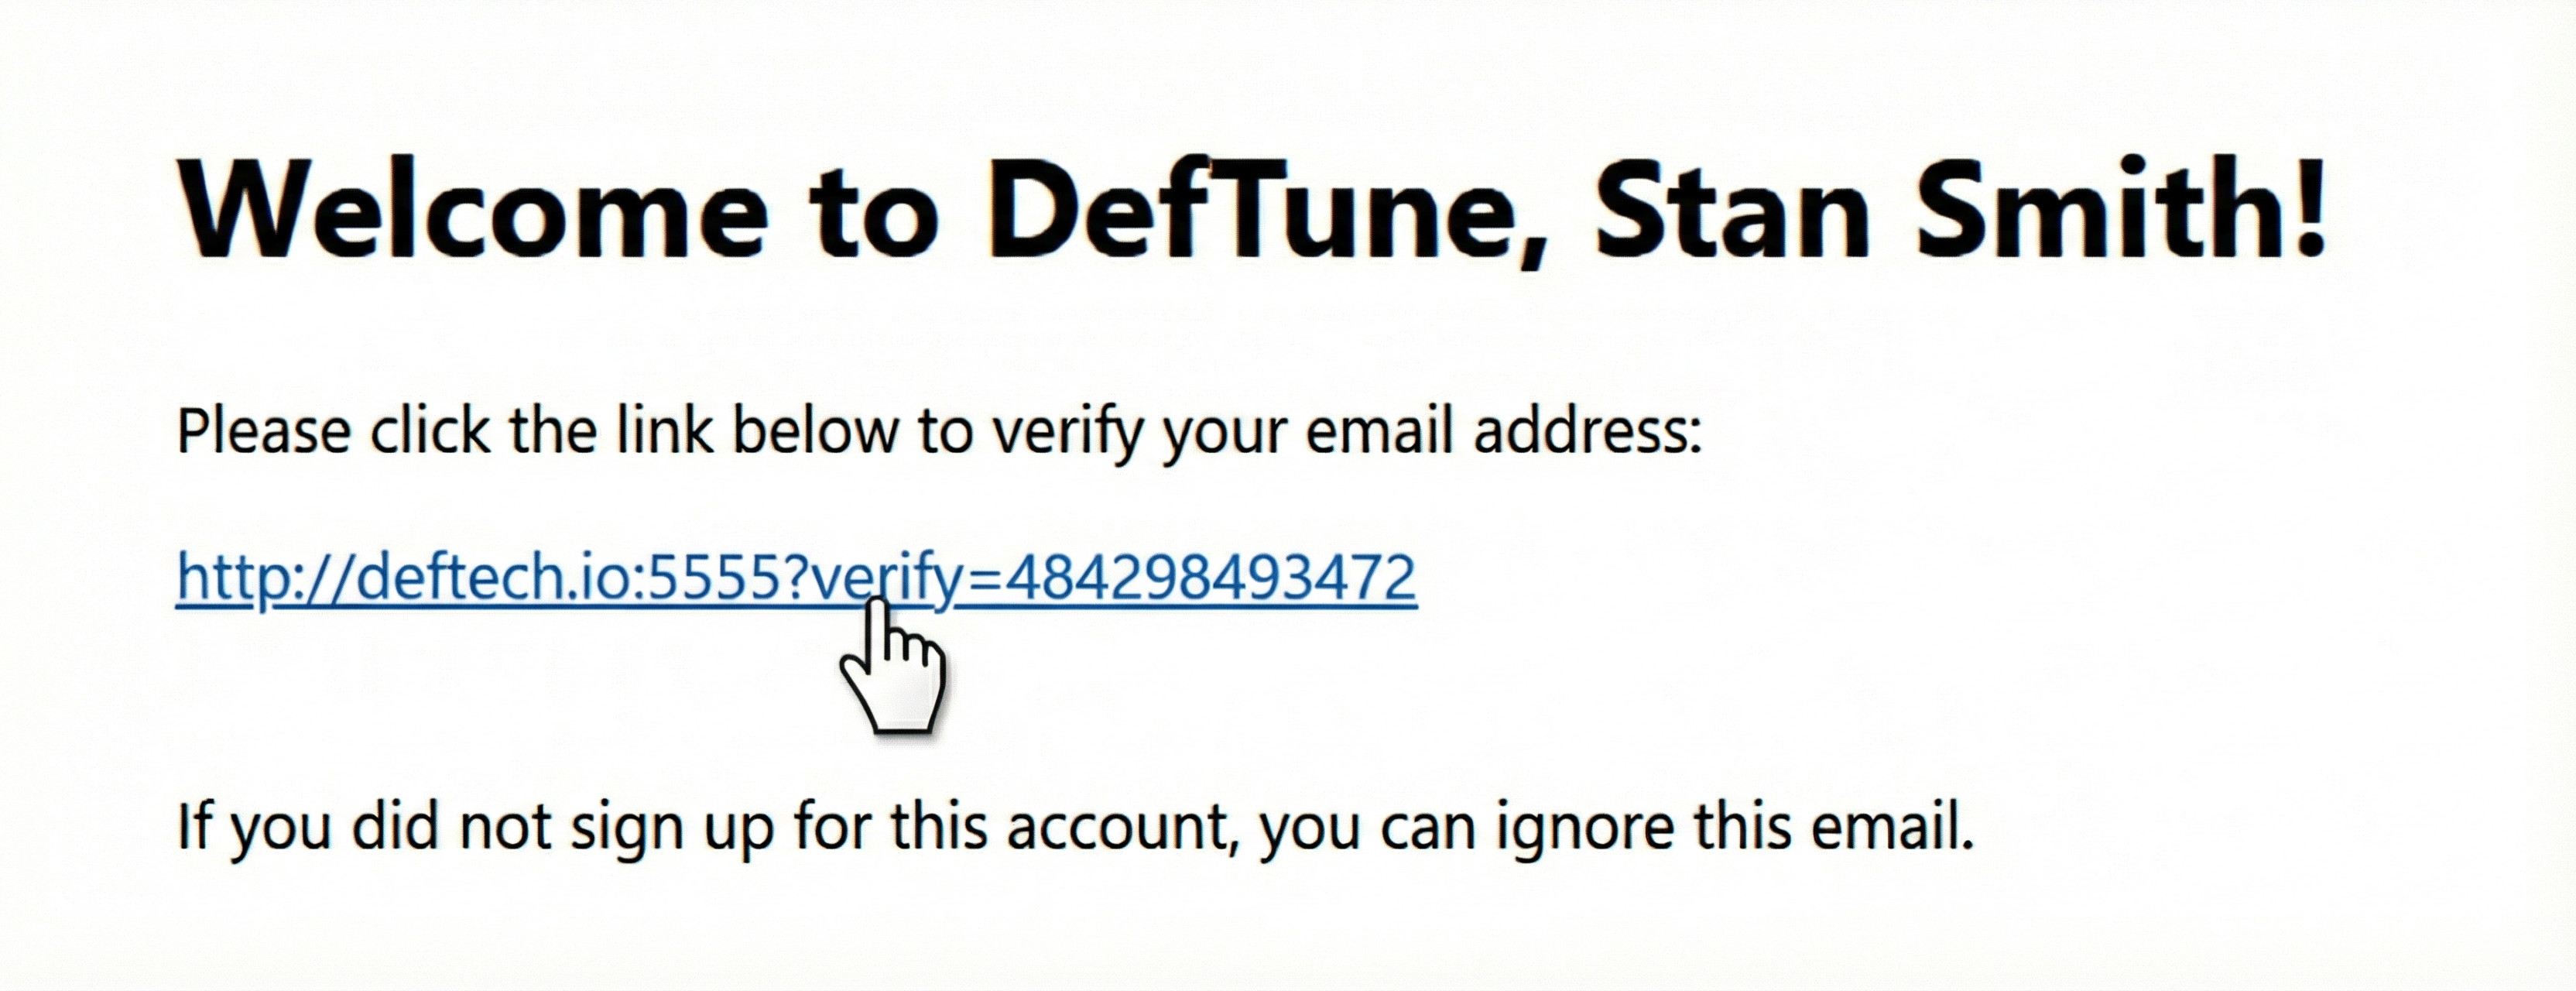
Once your account is registered, you'll need to confirm it by clicking on the link in the email we sent you.
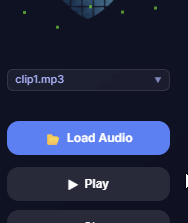
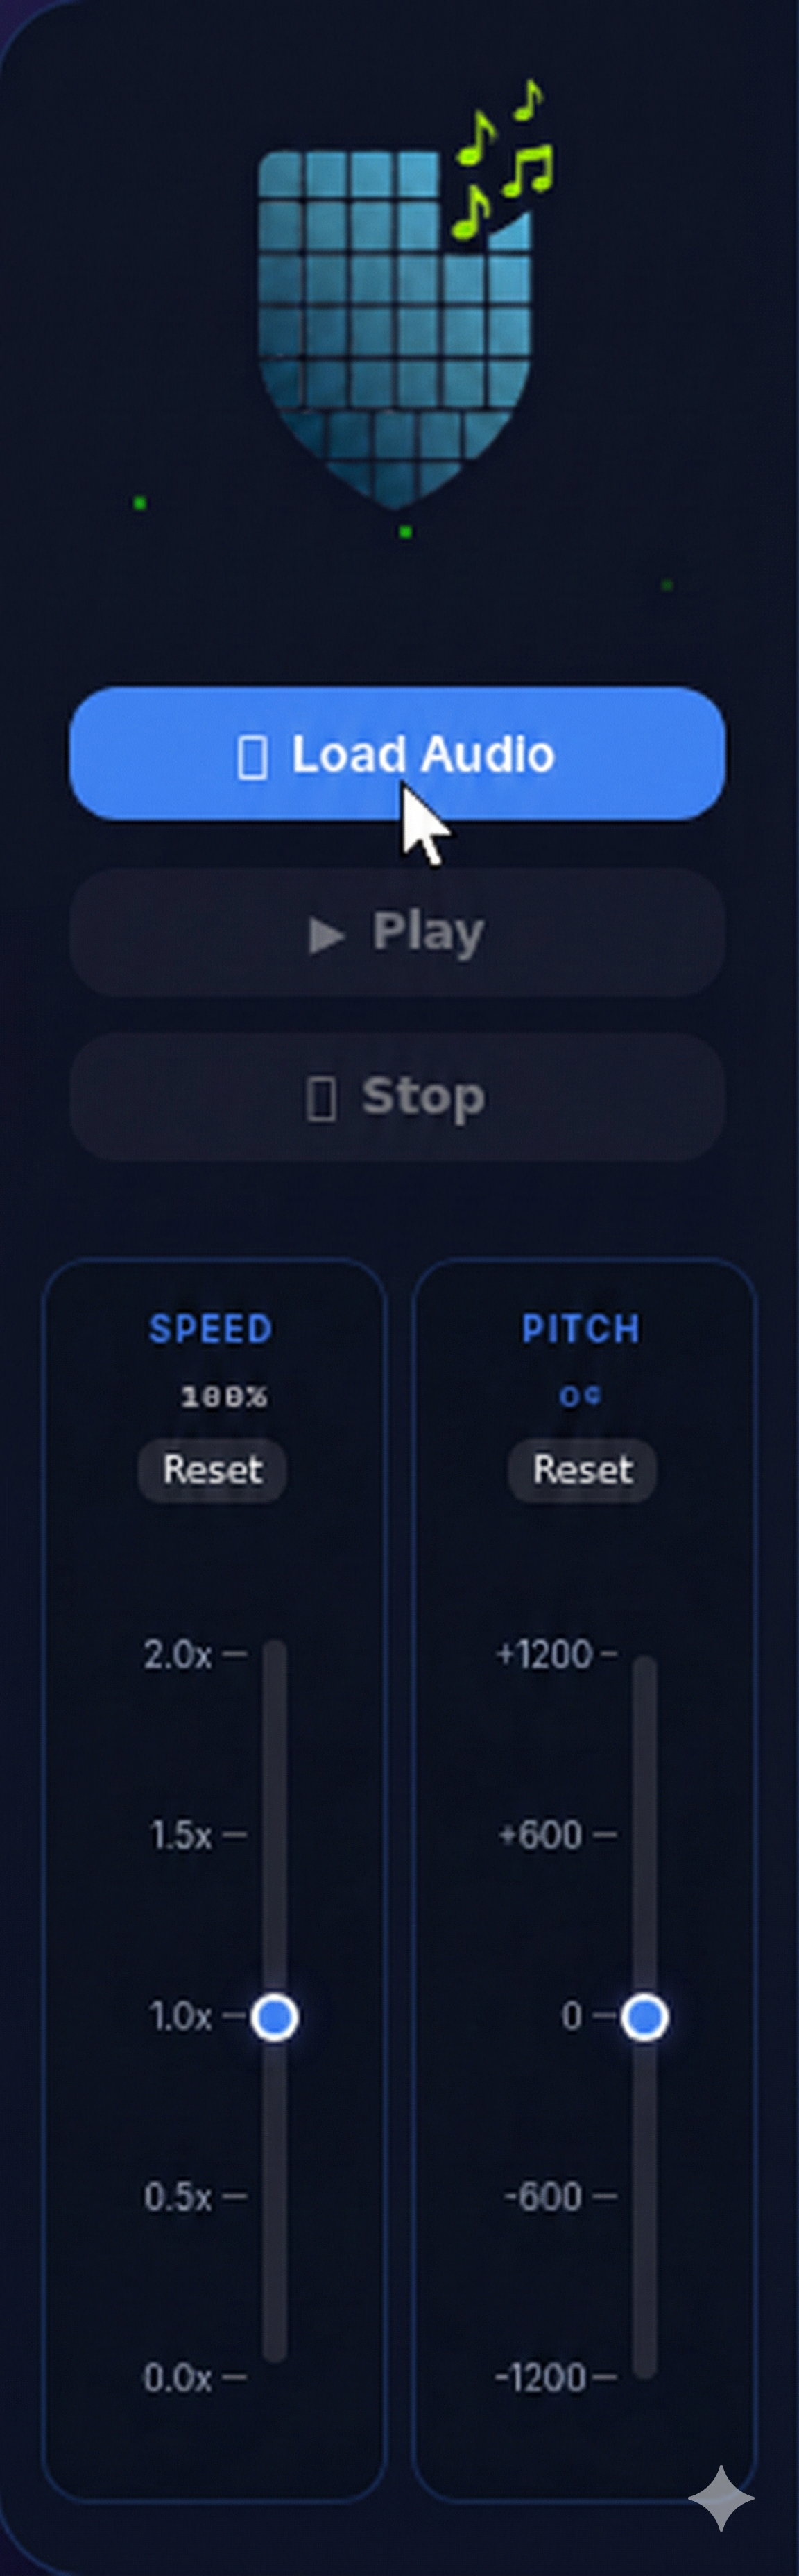
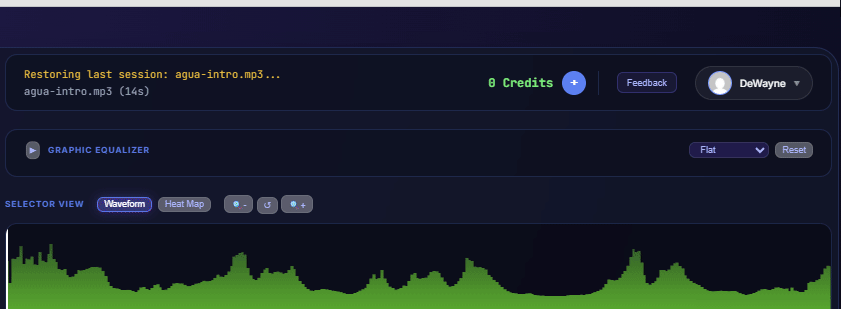
Once you are ready, you need to load an audio file. We accept MP3, WAV, AAC, and M4A formats. Remember, your audio is processed entirely in your browser and is never uploaded to any server.
Click the large "Load Audio" button in the sidebar or use the dropdown if you have previously licensed files.
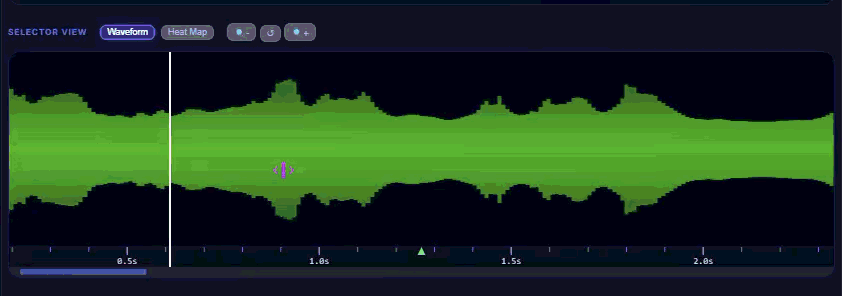
Waveform vs. Heatmap
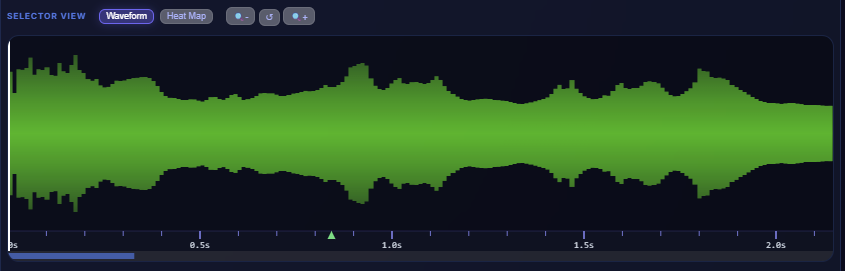
Once your audio is loaded, you have two primary ways to view structure:
Waveform View
The default view showing amplitude over time. This is best for seeing the rhythmic structure, finding drops or quiet sections, and general navigation.
Heatmap View
Click "Heat Map" in the Selector View controls to switch modes. This visualizes the intensity of different frequencies over time, allowing you to "see" the harmony and timbre changes clearer than a simple waveform.

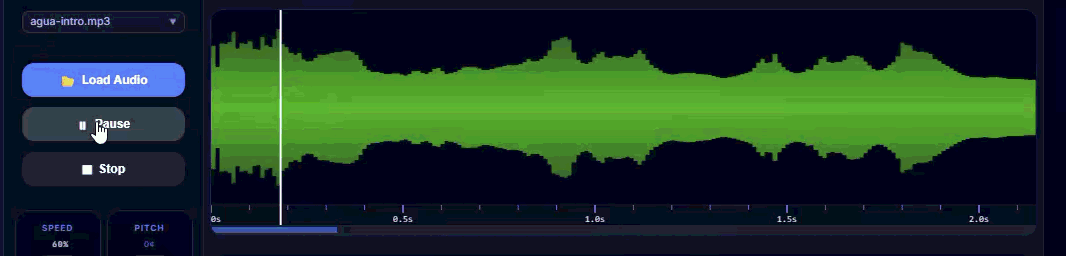
Playback Controls
Basic transport controls are located in the sidebar:
- Play/Pause: Starts or stops audio playback.
- Stop: Stops playback and returns cursor to the start position.
- Click in waveform or heatmap Set playback position
- Click in timeline Set start position marker, click existing marker to remove it
Pro Tip: You can also use the Spacebar on your keyboard to
toggle
playback quickly. You can also use the arrow keys on your keyboard to adjust the playback
position forward
or backward.
Practice Tools
DefTune excels at helping you practice difficult passages and identify notes and chords.
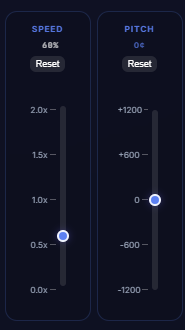
Speed Control
Slow down the music without changing the pitch. Drag the slider from 0.5x (half speed) up to 2.0x (double speed). This is perfect for learning fast solos.
Pitch Control
Change the key of the song. The slider adjusts pitch in "cents". +/- 100 cents equals one semitone. You can shift up or down by a full octave (1200 cents).
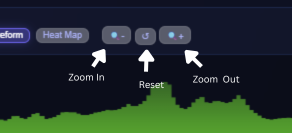
Zooming & Regions
Zooming
Use the (+) and (-) magnifying glass buttons above the waveform to zoom in and out. This allows for precise placement of start markers and loop regions.
Selecting Regions (Looping)
To loop a section, click and drag across the waveform. A highlighted region will appear. When you press play, DefTune will automatically loop this region indefinitely until you clear the selection (by clicking outside of the selected region).
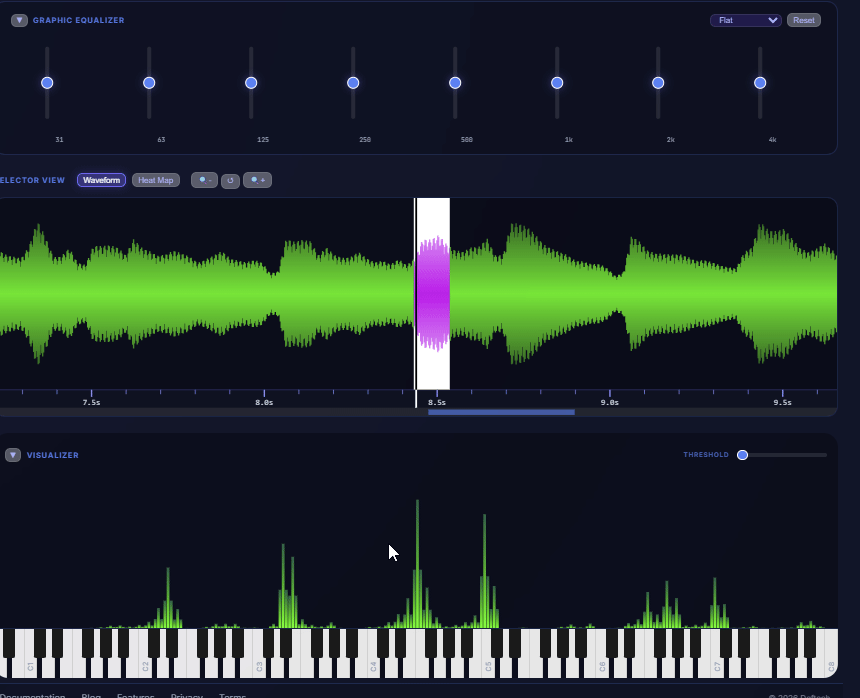
Graphic Equalizer
The 7-band Graphic EQ allows you to shape the sound output. This is useful for isolation. For example, you can boost the low frequencies (left sliders) to hear the bass line clearly, or cut the mids to remove vocals.
Use the Preset Dropdown to quickly switch between common settings like "Bass", "Guitar", "Piano" and others. Or create custom settings based on your own needs.
Visualizer
At the bottom of the tool is the real-time visualizer. It maps the current audio frequencies to a piano keyboard representation.
Threshold & Tuning Sliders
Use the slider next to the "Visualizer" label to adjust sensitivity. If the visualization is too noisy, increase the threshold to only show the loudest/most dominant notes. You can also use the tuning slider to correct for pitch-shifting.
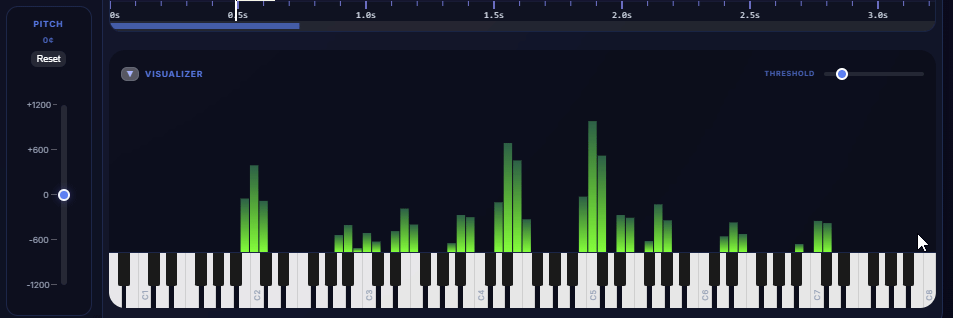
Frequency Isolation and Note Detection
Select a range of peaks in the visualizer to isolate a specific frequency range. This can be useful for analyzing specific notes or chords. The equalizer will automatically adjust to isolate the frequencies, and keys will show autodetected notes.
Interface Overview
A quick guide to the utility areas of the app:
- File Dropdown: Located in the sidebar, this lets you quickly switch between files you have recently loaded.
- Status/Message Area: The top bar displays the current file name and any system status messages (e.g. "Decoding...").
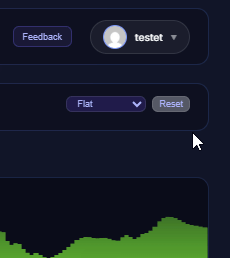
- User Menu: Click your avatar/name in the top right to access your Profile, buy more credits, or Log Out.
- Feedback: Found a bug or have an idea? Click the "Feedback" button in the top right to send a message directly to the developers.